Bake a Holiday Classic: Our Famous Hershey's Kiss Blossoms Recipe
Among the cherished array of holiday cookies, few evoke the warmth and nostalgia quite like the humble yet irresistible
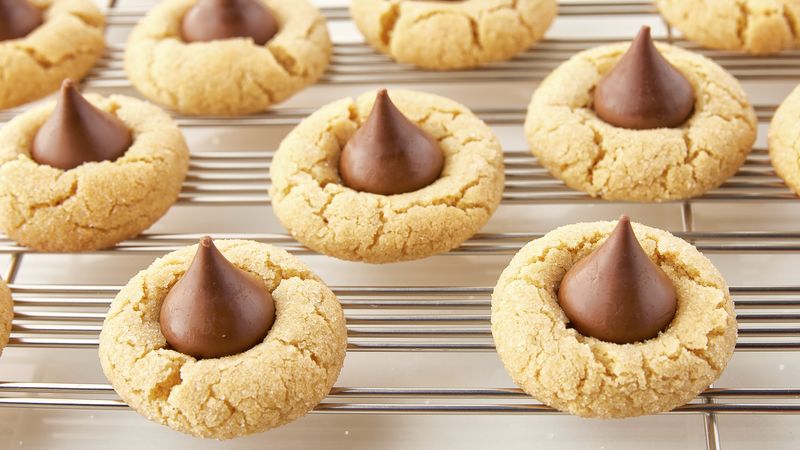
peanut butter blossoms recipe. These iconic treats, crowned with a melt-in-your-mouth Hershey's Kiss, are a staple on Christmas Eve tables, holiday gift platters, and in lunchboxes long after the festivities have faded. Known for their perfect balance of a chewy, rich peanut butter cookie base and a slightly softened chocolate center, they are truly perfection in every bite. Whether you're continuing a treasured family tradition or discovering the joy of baking these simple delights for the first time, our famous recipe promises to deliver the best-ever classic cookie.
The beauty of the peanut butter blossom lies in its simplicity and the delightful contrast of textures and flavors. We've refined this timeless recipe, building upon generations of baking wisdom to create a version that is both delightfully moist and perfectly crispy on the edges. Get ready to create memories and master the art of the Hershey's Kiss Blossom.
The Heart of the Blossom: Essential Ingredients Explained
Crafting the perfect
peanut butter blossoms recipe begins with understanding each ingredient and its role. While the recipe itself is straightforward, a few key choices and accurate measurements will elevate your cookies from good to absolutely legendary.
*
All-Purpose Flour: The foundation of our cookie. Accurate measurement is paramount here. If your cookies consistently turn out dry, excess flour is often the culprit. Always spoon your flour into the measuring cup and level it off with a straight edge rather than scooping directly, which can compact the flour and lead to too much.
*
Butter vs. Shortening: While some traditional recipes call for shortening, our refined version embraces the richness of
all-butter. This switch yields exceptionally moist, tender cookies with a delightful chew and superior flavor. The softened butter creates the ideal moisture content. However, if you prefer an extra-soft cookie with a slightly different crumb, shortening can be used as a substitute. For a deeper dive into how these fats impact your final bake, explore our guide:
Master Chewy Peanut Butter Blossoms: Butter vs. Shortening Guide.
*
Peanut Butter: This is where careful selection truly matters for your
peanut butter blossoms recipe. For best results, steer clear of "natural" peanut butters that require refrigeration and tend to separate. Their oil content can be inconsistent and lead to a greasy or crumbly cookie. Instead, opt for the super creamy, shelf-stable varieties – think classic brands often found in a teal blue jar. These creamy types provide the necessary fat and consistency for a perfectly textured cookie.
*
Brown Sugar & Granulated Sugar: A harmonious blend of both sugars is key. Granulated sugar provides crispness and sweetness, while brown sugar (with its molasses content) adds moisture, chewiness, and a subtle depth of flavor that complements the peanut butter beautifully. This combination ensures your cookies are perfectly sweet and wonderfully soft.
*
Milk: Much like flour, the amount of liquid can significantly impact your dough's consistency. We specify a precise amount, but if you've accidentally added too much flour and your dough seems overly dry and crumbly, a tiny bit more milk, added a teaspoon at a time, can bring it back to the perfect, pliable texture.
*
Vanilla Extract: Don't underestimate the power of pure vanilla extract. A dash rounds out the flavors, adding a sweet, aromatic warmth that elevates the overall profile of your peanut butter cookie.
*
Hershey's Kisses: The iconic crown! Plain milk chocolate Hershey's Kisses are the classic choice, providing that nostalgic, creamy chocolate counterpoint. But don't hesitate to get creative! Dark chocolate Kisses, Hugs, or even specialty holiday flavors like peppermint Kisses can offer a fun twist.
Crafting Your Perfect Dough: Step-by-Step Perfection
With your ingredients ready, it’s time to transform them into the irresistible dough for your
peanut butter blossoms recipe. Precision in mixing is just as important as ingredient quality.
1.
Preheat and Prep: Begin by preheating your oven to
375°F (190°C). Line two large baking sheets with parchment paper. This prevents sticking and ensures even baking and easy cleanup.
2.
Whisk Dry Ingredients: In a small bowl, whisk together your flour, baking soda, and salt until they are thoroughly combined. Set this aside.
3.
Cream Wet Ingredients: In a large mixing bowl, combine the softened butter and creamy peanut butter. Using a handheld or stand mixer, beat them together until smooth and well-integrated. Then, add both the granulated and brown sugars. Continue beating until the mixture becomes noticeably lighter in color and fluffy – this step is crucial for incorporating air, which contributes to the cookies' texture.
4.
Add Egg and Liquids: Beat in the egg until fully incorporated. Next, add the milk and vanilla extract, mixing until just combined. Be careful not to overmix at this stage.
5.
Gradual Flour Addition: Now, it’s time to bring in the dry ingredients. Gradually add the flour mixture to the wet ingredients, a third at a time. Beat on low speed until the dough is *just* combined. Resist the temptation to dump all the flour in at once, and avoid overmixing, which can lead to tough cookies. For more expert tips on ingredient choices and dough handling, check out:
Perfect Peanut Butter Blossoms: Smart Ingredient Choices & Dough Tips. The dough should be soft and pliable, not sticky or crumbly.
Baking and Finishing Touches: The Signature Kiss
The final steps bring your
peanut butter blossoms recipe to life, culminating in that signature chocolate crown.
1.
Roll the Dough: Using your hands, roll approximately 2 tablespoons of cookie dough into a neat ball. Then, roll each ball generously in reserved granulated sugar, ensuring it's fully coated. This sugar coating adds a lovely sparkle and a slight crunch to the cookie's exterior.
2.
Arrange on Baking Sheets: Place the sugared dough balls onto your prepared baking sheets, ensuring they are spaced at least 2 inches apart. This gives them room to spread without merging into one giant cookie.
3.
Bake to Perfection: Bake for 8-10 minutes, or until the edges are lightly golden and the centers appear set but still slightly soft. Do not overbake; these cookies are best when they retain a tender chewiness.
4.
The Hershey's Kiss Moment: This is the crucial step! As soon as the cookies come out of the oven, immediately press a Hershey's Kiss gently into the center of each warm cookie. The residual heat from the cookie will slightly soften the chocolate, allowing it to meld beautifully with the warm peanut butter base. Don't press too hard, just enough to indent the cookie.
5.
Cool Completely: Transfer the cookies, with their Kisses, to a wire rack to cool completely. This step is vital to allow both the cookie and the chocolate to fully set. Attempting to move or stack them before they've cooled can lead to smearing or melted chocolate. Once fully cooled, the Kisses will be firm but still offer that delightful soft-centered bite.
Tips for Success & Variations
*
Ingredient Temperature: Ensure your butter is softened to room temperature (indentable with a finger, but not melted) and your egg is also at room temperature. This helps create a smooth, emulsified dough.
*
Don't Rush the Cooling: Patience is a virtue, especially with these cookies. Fully set Kisses prevent a mess when storing or gifting.
*
Dough Adjustment: If your dough feels too sticky, add a tablespoon of flour at a time until it's easy to roll. If it's too dry, a teaspoon of milk at a time will rehydrate it.
*
Get Creative with Kisses: While milk chocolate is classic, consider dark chocolate, white chocolate, or even flavored Kisses (like caramel or mint) for different holidays or preferences. You can also sprinkle a pinch of flaky sea salt over the Kisses immediately after pressing them in for a sophisticated sweet and salty twist.
*
Storage: Store your cooled Hershey's Kiss Blossoms in an airtight container at room temperature for up to 5 days, keeping them out of direct sunlight to prevent the chocolate from melting. They also freeze beautifully for longer storage.
Conclusion
The Hershey's Kiss Blossom is more than just a cookie; it's a symbol of warmth, tradition, and homemade goodness. This comprehensive
peanut butter blossoms recipe provides you with all the insights and techniques to bake a batch that will delight everyone who tastes them. From the perfect balance of ingredients to the satisfying moment of pressing that iconic chocolate Kiss into a warm cookie, every step is a joy. So, gather your ingredients, preheat your oven, and prepare to fill your home with the irresistible aroma of these beloved holiday classics. Happy baking!